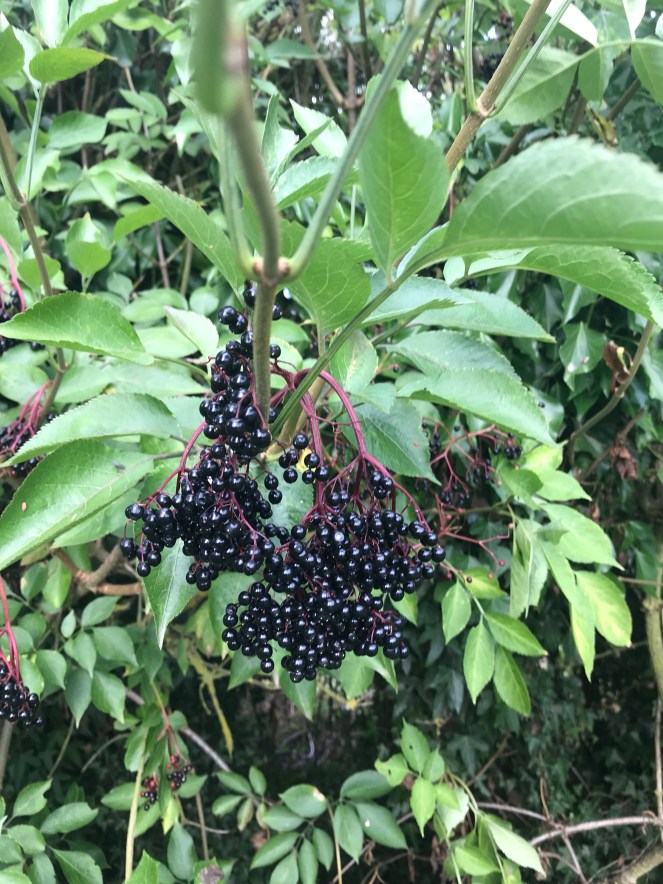
T’is the time of year to pick those gorgeous, dark fruits and transform them into something even more tasty. You’ll probably know this, but elderberries are what happens when you don’t pick the elderflowers to make cordial (or gin).
They’re slightly tart, little berries of joy – I absolutely love them but this is the first year that I’ve actually done anything with them, apart from pick them and eat them. At the moment, they’re everywhere I look.
Seeing as I’ve never done anything with them before, I thought we would start off with jam. I normally use 1kg of jam sugar and then just over 1kg of fruit, but as I know elderberries can be a bit tart I did 1kg of each – the jam is gorgeous but I would definitely do over 1kg of elderberries next time for that tartness. This would then make this jam ideal with cheese.
What you’ll need:
Jam Pan/ Large Stainless Steel Pan
3 x 450ml jam jars / recycled jars (plus a couple of ramekins for any leftover jam, which you can put in the fridge and enjoy later!)
Jam funnel (will really help you to get the jam in the jars!)
Labels for the jars
Wax circles (not mandatory but helps the preserve keep longer)
Ingredients
- 1kg of elderberries
- 1kg of jam sugar (which has added pectin)
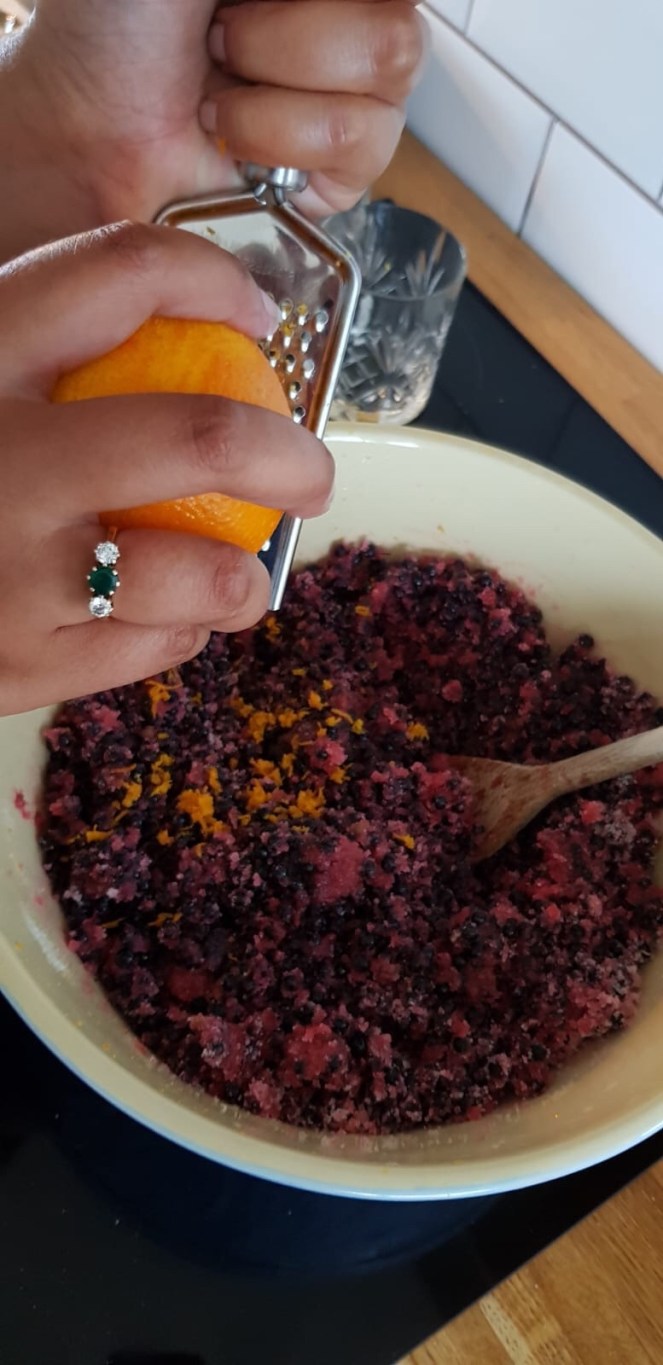
- Zest and juice of 1 orange
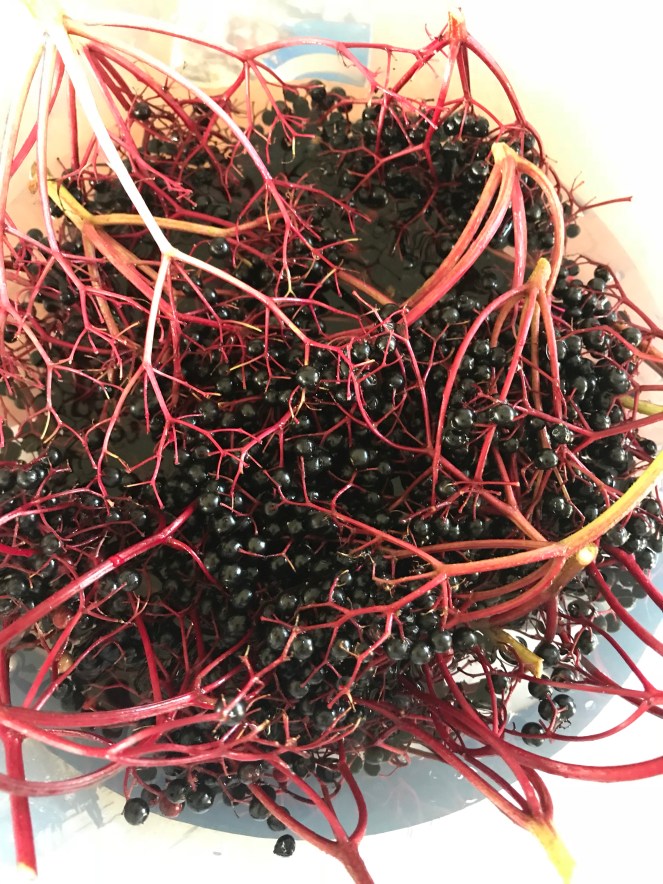
- So you’ve got your bag of foraged elderberries – here comes the fun part. Enlist a friend or your Handsome One with a beer or glass of wine, give them a bowl and a fork and start removing the berries from the stalk. You’ll inadvertently end up with elderberry juice on your face and top, but it’s half the fun!
- Add the elderberries to a large bowl and stir in the sugar, orange rind and juice. Stir the mixture thoroughly, cover loosely with cling film, and leave to the side for about 30 mins to let the sugar dissolve into the dark juices – it won’t take long. Whilst you’re waiting you could sterilise your jam jars – clean the jars in soapy water, rinse and put in the oven for about 15 mins on 140c. Put the lids and tops in a bowl. pour over boiling water and let cool.
- If you don’t have a thermometer, pop a few saucers into the freezer. Put the fruit and all the lovely sugary juices into your jam pan and turn it up to a medium heat. Stir until the sugar has completely dissolved and bring to the boil. Keep cooking at a fairly high temperature until the elderberries have started to burst and the conserve has reached setting point – this should take about 10-15 minutes.
- To test that it has reached setting point (105c /220F), put 1/2 a teaspoon of the jam onto a cold saucer from the freezer, leave it for 30 seconds, then gently push it with the tip of your finger. If the jam wrinkles, you’re there and you’ve reached setting point. If not, lick the saucer clean, keep going for a few more minutes and test again.
- Remove the pan from the heat and leave to the side for a couple of minutes before pouring through a jam funnel into your sterilised jars. You can seal immediately (be careful, the jars will be hot!) – I use waxed circles to help preserve the jam and then once it’s cold, you can add labels, toppers or anything else you fancy!
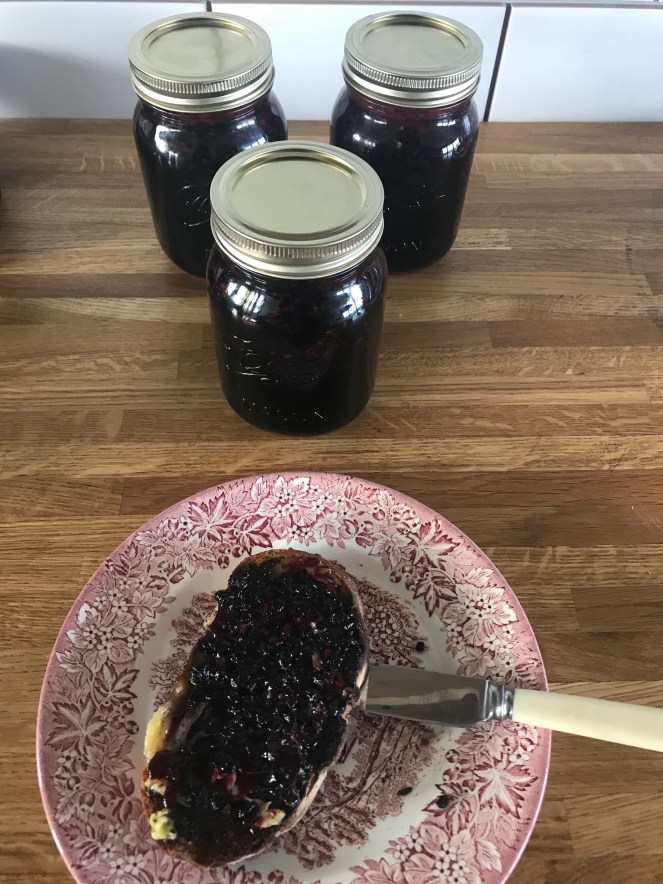
Get yourself a slice of your favourite toast, lashing of butter, add your jam and enjoy!
A x

One thought on “Elderberry Jam Recipe”